|
HTMA - How to cut and prepare a hair sample
This may actually be the most daunting step in the whole process. Like anything new to us, we get nervous and imagine it to be harder than it truly is. Hey, I was one of those people! I PROMISE once you get the hair sample process down once, you’ll be a pro! If you have questions that aren't answered on this page, refer to my HTMA - FAQs. There's a good chance those questions will be answered there! Special note: To those of you who are experiencing hair thinning and loss. I SEE you, I WAS you. It’s actually a big reason I searched for help for many years before I found Mineral Balancing! I simply refused to accept the ol’ “hair loss runs in the family” excuse. (Let’s be real, hair loss runs in almost EVERYONE’S family. So if genetics were solely to blame, we’d all be losing our hair) When you are losing your hair, even cutting the TINIEST amount feels like a big loss. We want to hang on to every.single.hair we have! You truly need a TINY amount of hair for the test (amounts to 1 heaping tablespoon. Keep reading to find out how to hide/minimize that cut hair within your whole head of hair) One week BEFORE cutting the hair sample, this is VERY IMPORTANT:
Step 1: Wash Your Hair Wash your hair with regular shampoo. Do not use dandruff or other medicated shampoos as they often contain minerals which may alter the test results. Example:
*Avoid using the following products before cutting the sample:
Step 2: Dry Your Hair After washing your hair, wait at least 4 hours to cut the sample but no longer than 24 hours. Again I repeat, your hair sample must be cut between 4 hours minimum to 24 hours maxiumum post hair dry. This also means:
Step 3: Cut your hair NOTE: If you’re nervous (and that’s normal!), have either a hairstylist or trusted friend/family cut the hair for you. I find it very helpful to separate the top 1/3 or so section of hair with a clip, and then take a couple small samples from the BACK of the head. This way, when you're done cutting the sample and you unclip that top 1/3 of hair, when it falls back down into place, you can't even see where you made those cuts! *Particularly for thinning hair, cutting smaller samples in 2-3 different areas of the hair is preferable because it really does help to hide any appearance of cut hair. Remember, when it’s all said and done, the lab only needs 1.5 inches/3.8 cm of hair, which is about a tablespoon of hair (enough to tip the hair scale I’ll send you!) a. Using clean scissors, cut HEAD hair as close to the scalp as possible. If head hair is not available, the next best is beard hair, then arm/chest hair. DO NOT MIX DIFFERENT HAIR TYPES. b. Keep track of which end of the cut hair is from the scalp because we only want the inch or so of hair that was directly against your scalp! Step 4: Prepare your sample to send to the lab: a. Once you have cut the intial hair sample:
b. Use the paper hair scale provided to measure the weight of the hair. Follow the printed instructions provided.
c. After the scale has tipped down and confirmed that you have the correct amount of hair to send to the lab:
|
|
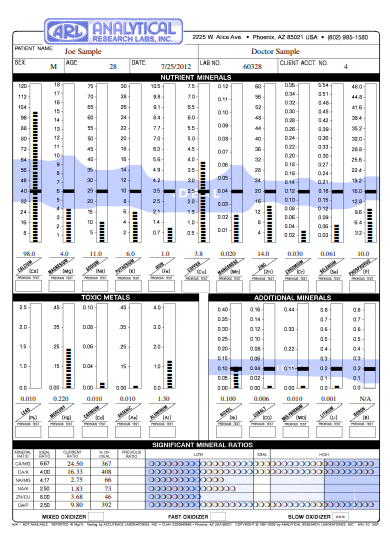
HTMA Sample Report